Who doesn’t want oh-so-effortless and sunkissed beach waves? Since this tousled hairstyle hit the runway at the 2003 Victoria’s Secret Fashion Show, siren mermaid hair has a permanent spot in our hair envy wishlist.
Despite looking effortless, mermaid hair is far from. There are a hundred ways to style beach hair, so we chose the method that gives you the most bang for your buck. Instead of using a curling iron, we use a deep waver tool with plenty of prep and finishing products.
Checklist
- Nothing But Clarifying Shampoo
- GVP Tea Tree Oil Conditioner
- Shea Moisture Deep Treatment Masque
- Alterna Caviar RX Re-Texturizing Protein Cream
- Kitsch Open Shape Styling Clips
- Pearlessence Salt Salt Mist
- Alterna Multiplying Volume Styling Mist
- L’Oréal Elnett Extra Strong Hold Hairspray
- L’Oréal Elnett Strong Hold Hairspray
Instructions
Cleanse
Wash your hair with a gentle clarifying shampoo such as Nothing But Clarifying Shampoo. This is a sulfate-free cleanser that won’t fade your color or damage your tresses. The waver tool works best on very specifically prepped hair, so we need to remove residue from previous styles.
Condition
Soften your hair in the shower by applying GVP Tea Tree Oil Conditioner from root to tip, with slightly more product at the tips. This is a lightweight conditioner with a detangling and moisturizing effect.
Masque
If your hair is colored or otherwise damaged, take the time to use the Shea Moisture Deep Treatment Masque. This is applied evenly from root to tip with a wide-toothed comb. Let sit for 5 minutes, then rinse out. This is the perfect pre-treatment for beach waves, because the castor oil slightly plumps the hair shaft to add body and texture.
Leave-In
The next step is to strengthen the protein bonds of the hair while also adding grip and texture for the waver tool. The Alterna Caviar RX Re-Texturizing Protein Cream is a two-in-one punch. Because it dramatically adds body, I apply generously at the roots and only sparingly near the tips. Let the product completely dry before moving onto the next step.
Section
Section your into four or five horizontal sections and put them all up into clips except for the bottom section. Use gentle clips that won’t kink your hair like Kitsch Open Shape Styling Clips. Keep the lower sections smaller than the upper sections. The hair in the lower sections is less damaged and will require more pressure and heat from the waver tool than the upper sections. Therefore the lower sections need to have smaller groups of hair.
Wave
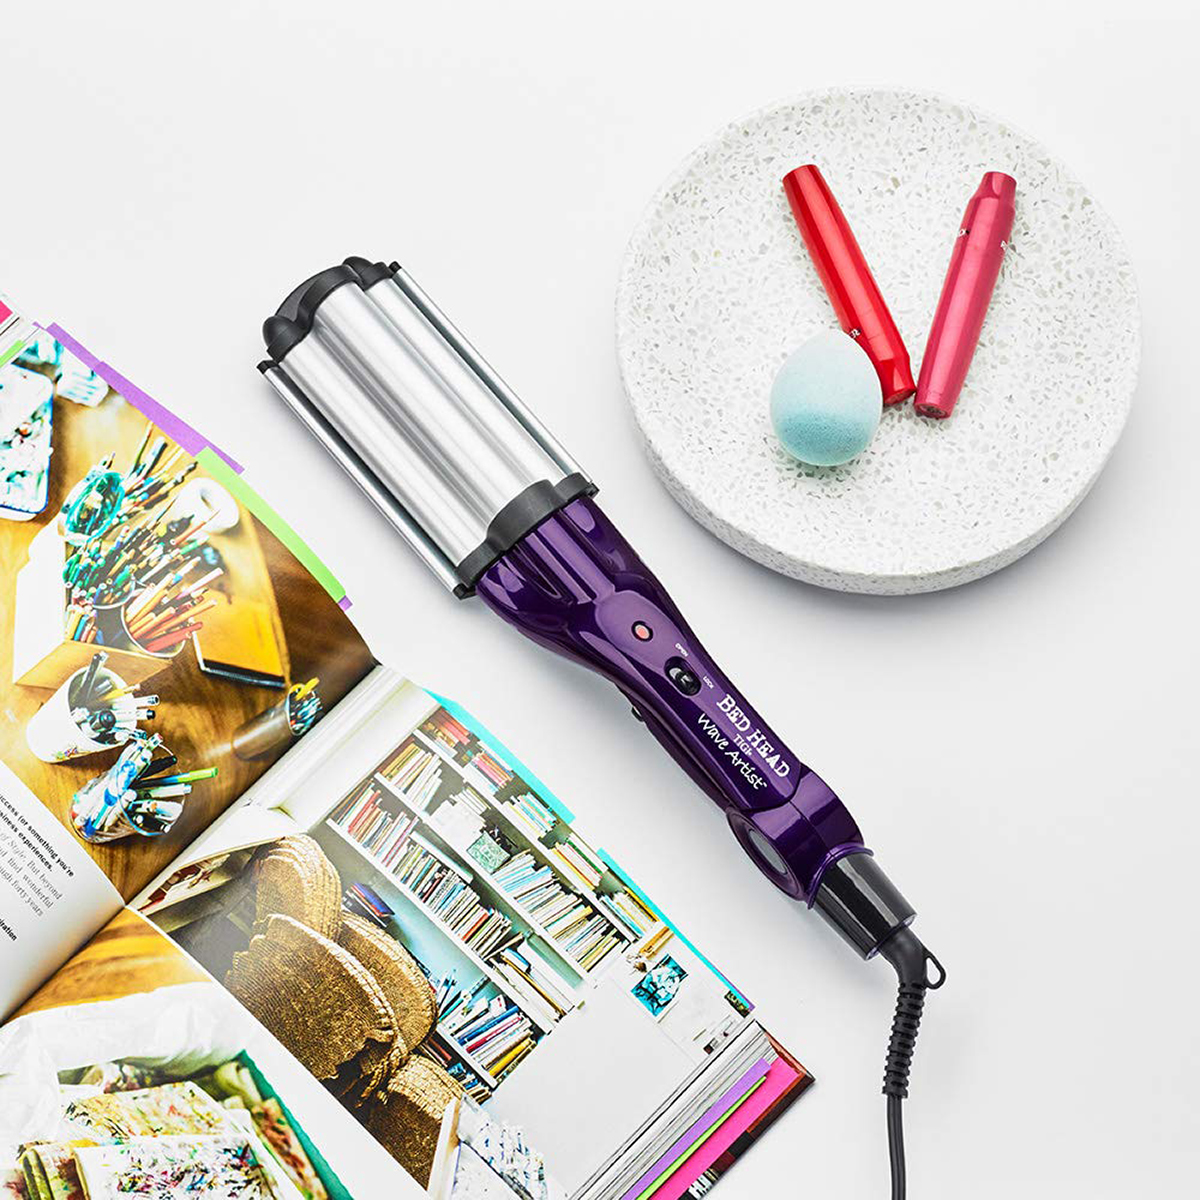
The Bed Head Wave Artist Deep Waver is much easier to use than a curling iron and only slightly more difficult than a flat iron. The tool should be held parallel to your scalp lengthwise so that the waves are symmetrical as if they naturally grew out of your head. As you move the wave clamp down the hair shift, very slightly overlap the previous wave to avoid gaps. On the lower sections of hair, hold each clamp for 10 seconds. On upper sections, hold for 4-6 seconds. Leave the very ends of the hair out of the clamp altogether for a natural look.
Top Tips
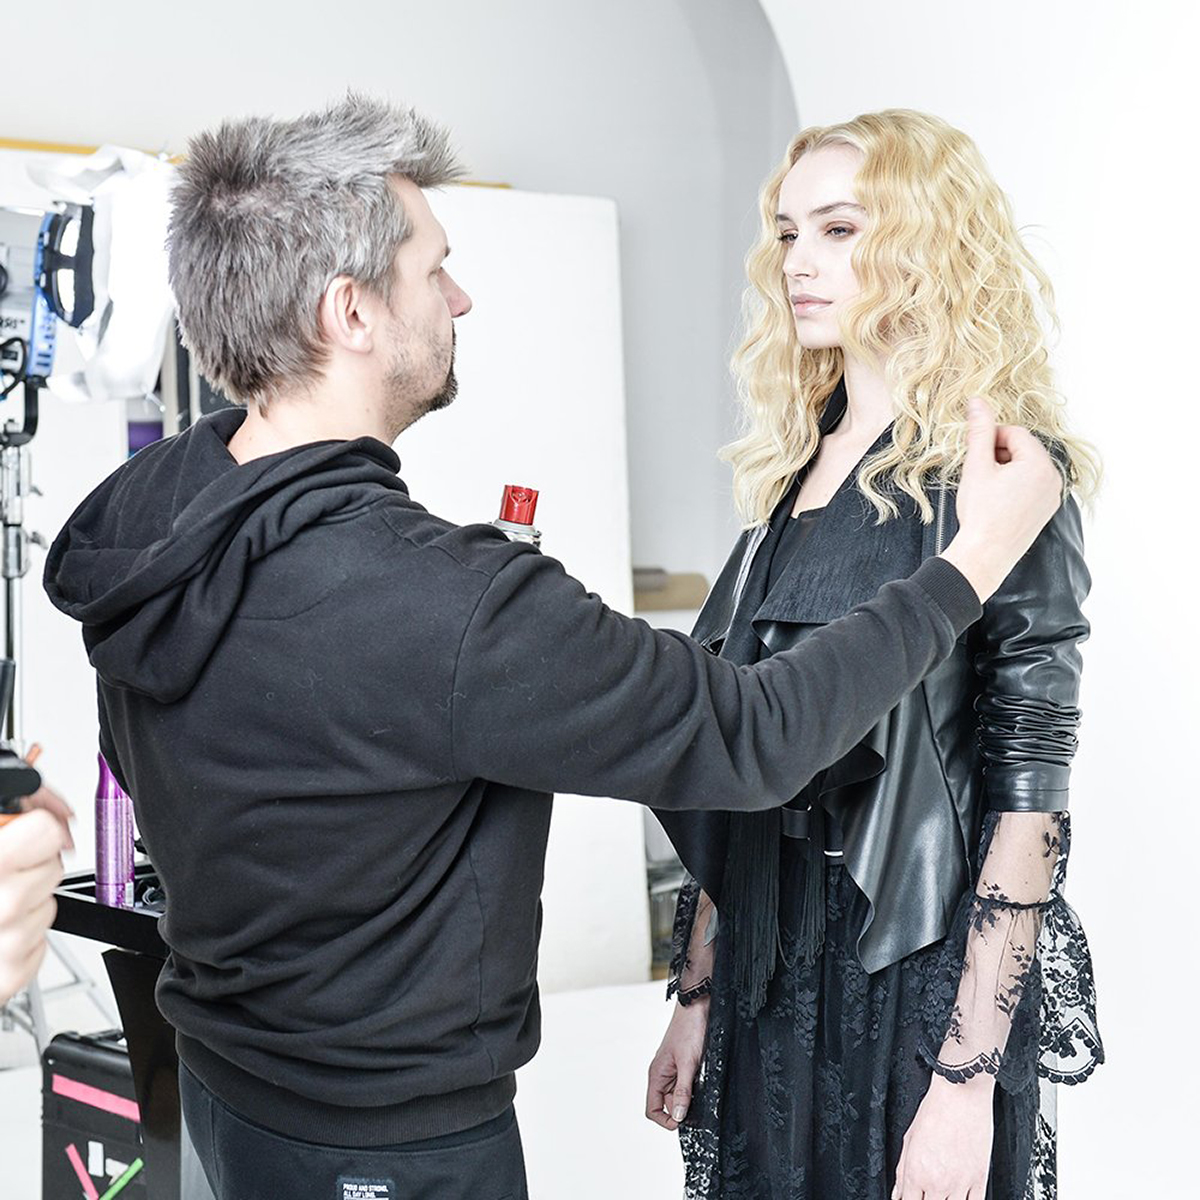
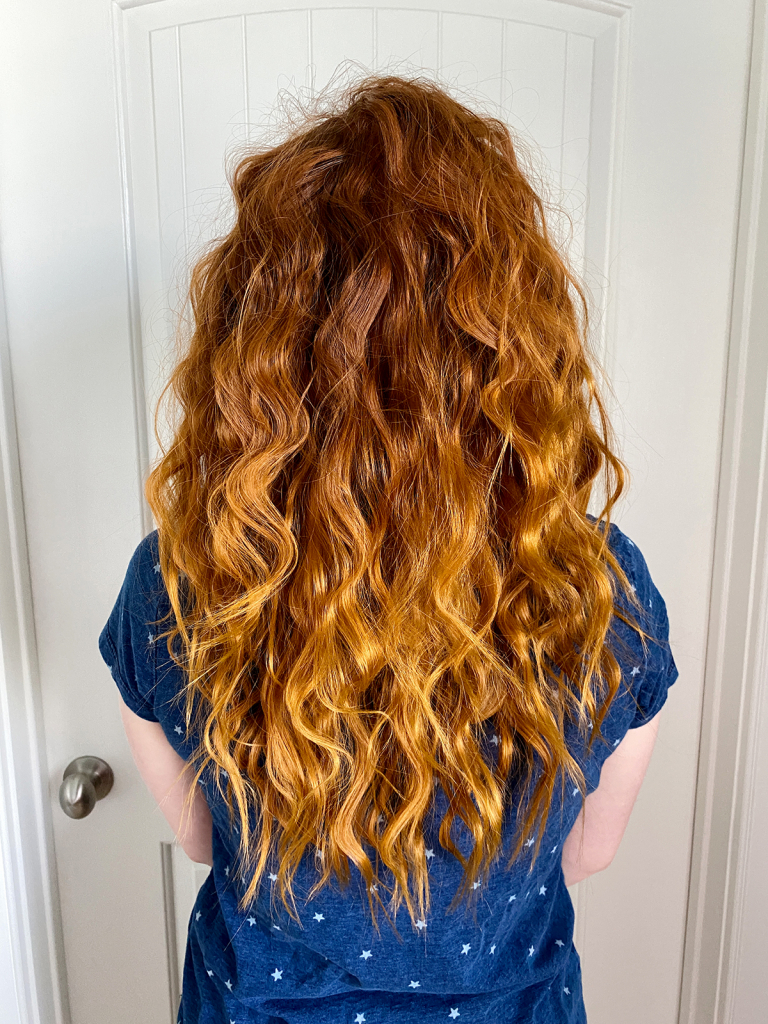
The top section of the hair always requires special care because it makes the first impression of your hair style. The professional model has very gentle waves in the roots that get more dramatic down the shaft. This is accomplished by very light and quick clamps on the roots with a downward tilt toward the floor. I prefer more curl in the roots and actually clamp the hair upward toward the ceiling.
Texture
Texture is key to a beachy style, as we’re trying to emulate a wave drenched in sea salt. Lightly spritz Pearlessence Salt Salt Mist throughout. Be careful around the ends, as the ends of hair are already damaged and will go frizzy with too much salt spray. If you have a tendency towards greasy or limp roots, add a light amount of Alterna Multiplying Volume Styling Mist to the root area only.
Hold
No point in all that work unless the style lasts! As with the other steps, I recommend that you treat your roots and your ends differently. The general rule is that roots need more volume and hold and ends need a lot less. To keep this style going about 3 days, I use L’Oréal Elnett Extra Strong Hold Hairspray on the roots and middle, and L’Oréal Elnett Strong Hold Hairspray near the ends. Touch-up with hairspray each morning.